Sunday, November 28, 2010

I am thankful for: pumpkin spice cake with pumpkin bourbon ice cream

I apologize for the delay in blogging, life has been busy!  With Thanksgiving and my finals coming up, things have gotten a little behind. Nonetheless, I managed to squeak one new creation in, my pumpkin spice cake that I brought in to work for the Thanksgiving feast. This is a pretty technically difficult cake because of all the steps it requires.  With a little effort though, you will end up with a visually stunning dessert that tastes like Thanksgiving goodness on a plate.


My pumpkin with the pumpkin

Pumpkin spice cake with pumpkin bourbon ice cream

Topping
1 cup granulated sugar
1 teaspoon pure vanilla extract
1 cup roasted nuts of your desire
sea salt
parchment paper for preparation

Cake
1 and 1/2 cups pumpkin puree
3/4 cup unsalted butter
2 cups unbleached all purpose flour
1 and 1/2 teaspoon baking soda
3/4 teaspoon salt
1 and 1/2 cups granulated sugar
2/3 cup packed dark brown sugar
2 large eggs
1/3 cup buttermilk
2 teaspoons ground ginger
1 and 1/2 teaspoon ground cinnamon
1/2 teaspoon cardamom 
1/4 teaspoon nutmeg

Frosting
1 package softened, light cream cheese*
1/2 cup softened unsalted butter*
1/4 cup packed dark brown sugar
1 cup confectioners sugar
1 teaspoon pure vanilla extract
1/2 teaspoon ground cinnamon
*completely softened, I leave mine out for a few hours (atleast 4)

Ice cream
http://www.bunkycooks.com/2010/11/pumpkin-ice-cream/
Recommended bourbon: maker's mark

I started this cake by making the topping.  It is roasted nuts (whatever you have in the house), topped with a caramel and some sea salt. 


Take one cup of granulated sugar and melt it slowly in a pan over low-medium heat.  Watch it carefully! There is nothing worse than spending all that time developing a beautiful caramel only to have it scorch. Don't stir it with a utensil. Your utensil will end up a clumpy mess and it will cause lumps in the caramel.  All you need to do is swirl it every 2-3 minutes to get the sugar melting.  

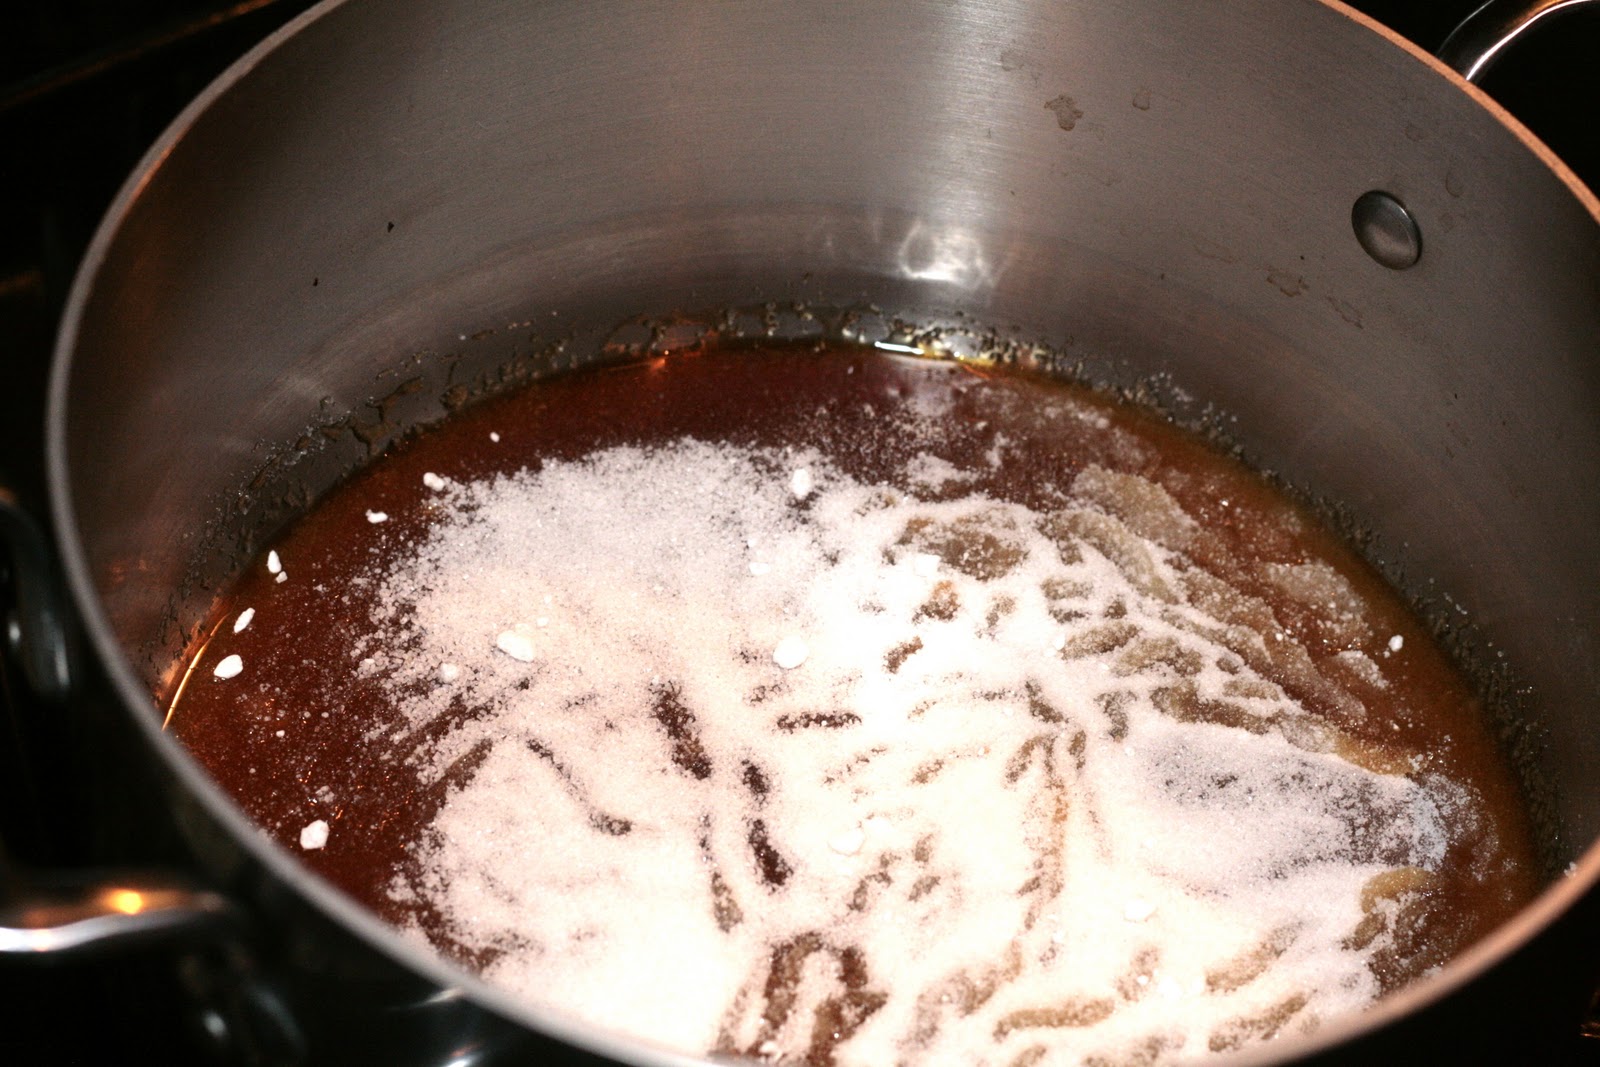
Watch it carefully.  That brown amber color along the edges is what you want

 finished caramel

Take one teaspoon of pure vanilla extract and pour it into the caramel.  It will hiss and sound very angry.  That's ok, this is normal!  :)  Take your roasted nuts of choice and place them on a piece of parchment paper so they don't stick.  Pour your lovely caramel all over them.  Sprinkle a little sea salt on top to give flavor and contrast.  That's it, let it hang out and harden while you prepare the rest of the cake.


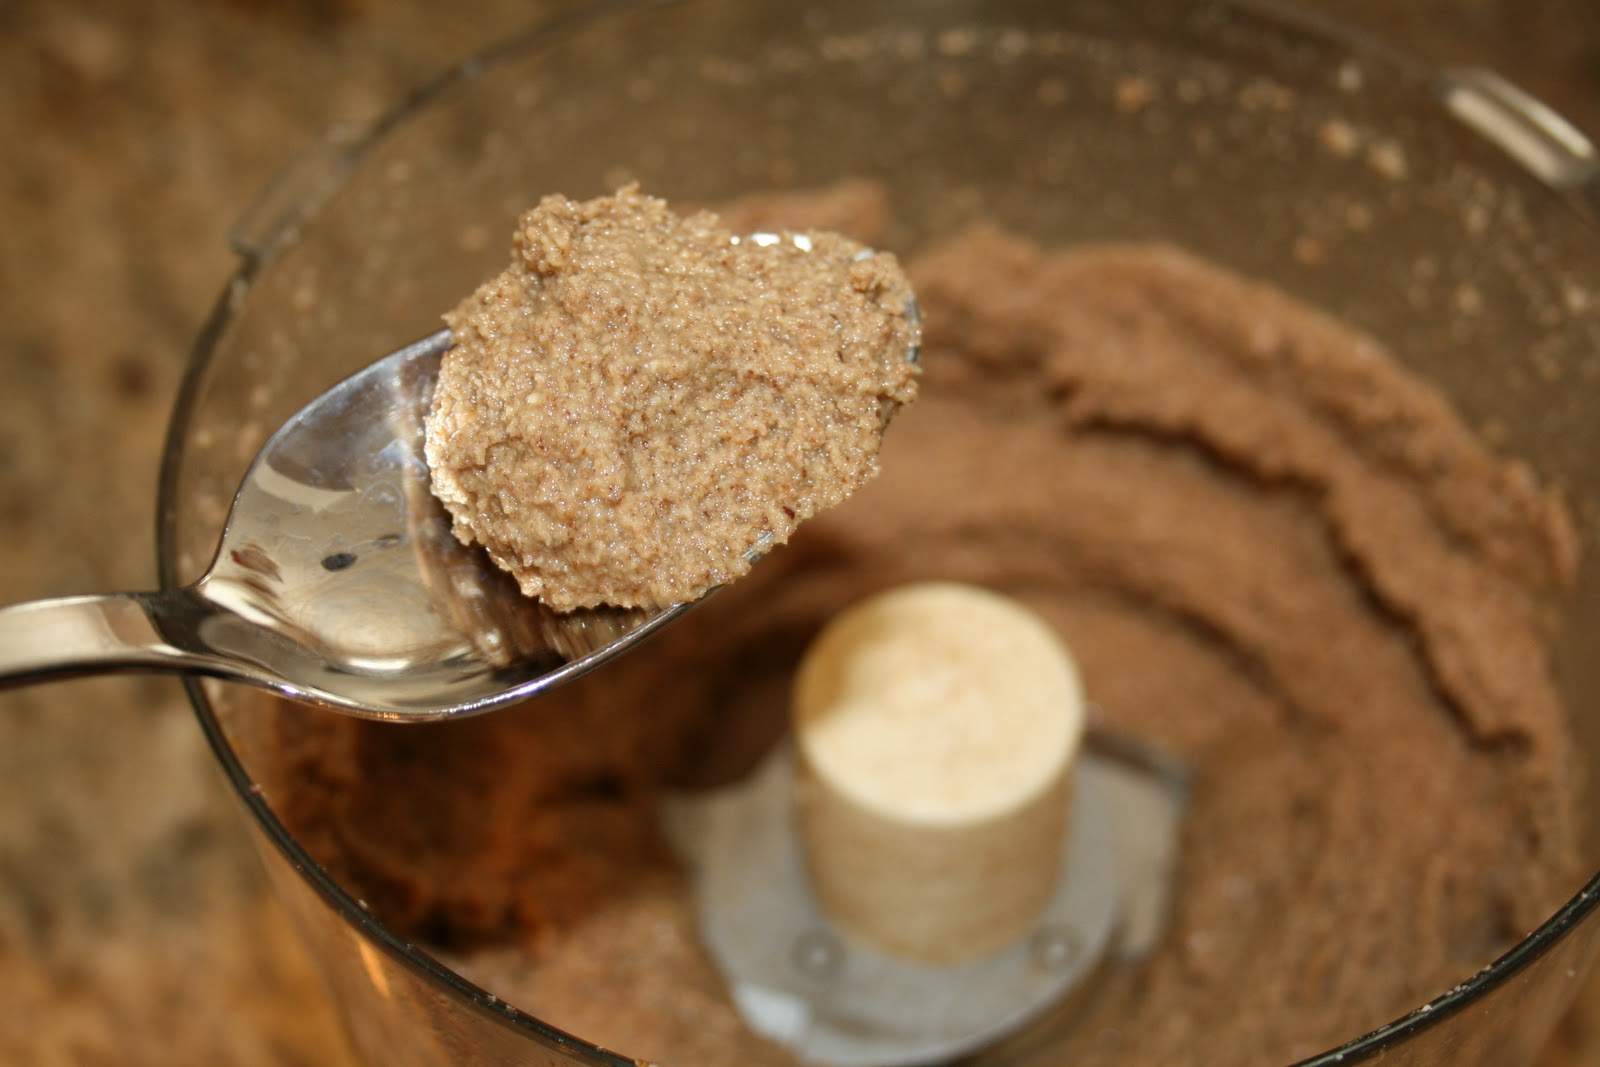
To start the cake, begin with making the brown butter.  I know it sounds intimidating, but it really is easy.  Basically all you are doing is toasting the milk solids in the butter.  It creates a really delicious nutty complexity to the butter.  Take your 3/4 cup butter and place it in a sauce pan over medium low heat to let it melt.  Check on it every 2-3 minutes and swirl it around. 

Butter starting to brown

This took me around 8-10 minutes.  You are looking for a nutty golden brown color.  Once you have the color you want, take it off the heat and set aside in a bowl.

Finished brown butter

Thoroughly butter and flour two nine inch round cake pans and preheat the oven to 350 degrees.


Measure out your dry ingredients.  Make sure you are using dry measuring cups for the dry ingredients and wet ones for the wet ingredients.  I measure by "fluffing up" the flour, then leveling off with a knife.


Put the flour, baking soda, salt and spices into a sifter to get rid of any lumps.  


Place the pumpkin puree, granulated sugar, brown sugar, eggs, brown butter and buttermilk into a separate large bowl and whisk until well combined.  Now we bring the wet and dry together!


Incorporate the wet into the dry in three batches. (1/3 of the dry mix into the wet, stir just to combine, repeat times two) You don't want to overwork the batter and develop the glutens in the flour.  Just mix until all the ingredients are combined.  Pour the batter evenly into your two pans.  Bake until a toothpick in the center comes out clean (About 25-28 minutes.)


Your cakes will come out like this:


Let cool in the pan for about 10 minutes.  Transfer to a wire rack and let cool completely while you make the frosting.  The most important thing about the frosting is to use completely room temperature ingredients so you don't end up with lumps in your frosting.  I use my stand mixer, but you could certainly use a bowl and a whisk.  Place all ingredients into a stand mixer or bowl and beat until light in color and the sugar has dissolved.  Start out slow so you don't get confectioners sugar all over you!
Once the cake has completely cooled, you can frost it.  I wanted mine to look very rustic.  You could do it with cleaner lines as well.  I chopped up the nut/caramel topping and scattered it on top.  So beautiful!


To make the ice cream, all you need is a few simple ingredients and an ice cream maker. If you don't have one, ask for one for Christmas.  It is so fun to make your own  unique flavors of ice cream. Or just go to Morelli's gourmet ice cream and pick up some of their amazing ice cream to go. http://www.morellisicecream.com/

Enjoy!


Sunday, November 14, 2010

Cinnamon vanilla pecan butter (with a guest bear!)

Such an exciting weekend!  We are dog sitting for some friends.  This is the future father of Appolonia's unborn pups:
George, Dan's new BFF

Isn't he precious?!  I have such a sweet spot for animals.  

I heart big dogs

I was in a cooking kind of mood this weekend.  I made a recipe with some heirloom carrots, but I wanted to share this one with you first because it is one of my five food groups.  (bacon, eggs, fruit, veggies and NUT BUTTERS!)  This recipe stemmed from my obsession with peanut butter. Before this recipe, I used to eat about a jar every 2 weeks! 

 I was on a normal trip to the DeKalb County farmers market. They sell all kinds of gorgeous nuts in bulk (almonds, pistachios, brazil nuts, pine nuts, and pecans.)  I started thinking about what I could do with the mass of pecans I bought.  Cinnamon vanilla pecan butter was born! This recipe is so easy and requires very few ingredients.


Roasted deliciousness!

Cinnamon vanilla pecan butter
One lb pecans (halves or pieces)
1/8 teaspoon salt
1/2 teaspoon cinnamon
1/2 teaspoon good vanilla
5 packs of truvia or 1 tablespoon honey, sugar or Splenda* see cooks note 
Almond or walnut oil* see cooks note

Tips:

*Choose pure vanilla extract over imitation vanilla.  It makes such a difference!  

*I used truvia in this recipe.  If you aren't familiar with it, you should look into it.  It is a natural no calorie sweetener made from the Stevia plant.  (Check it out at http://www.truvia.com/)   Feel free to substitute for any sweetener that you prefer.

 *As far as the oil goes, I didn't include an amount because it varies for how thick or thin you like your nut butter.  I used 2 and 1/2 tablespoons for my recipe.  Add the oil in slowly until you get the consistency you like. There are some really delicious nut oils out there.  You can buy them at the farmer's market, whole foods, or in the organic section of any nice grocery store. Use whatever sounds good to you.  Just don't use olive oil!

Preheat the oven to 375 degrees. I roast the pecans first to develop the flavor.  Put your pecan pieces on a cookie sheet pan and roast them for 6-8 minutes.  Keep checking them because they can burn easily.  When you can smell them, they are done.  Let them cool down for a few minutes.  Once cool, put them in a food processor and add the salt, vanilla, cinnamon, and the sweetener of your choice.


Pulse a few times to incorporate the ingredients.  Your mixture should look something like this:


Put the top on the food processor and turn it on. Using the opening on the top of your food processor,  slowly add the oil in a thin stream.  I would recommend adding about 1/2 teaspoon at a time and then checking the consistency.  You can always add more oil.  It is difficult to fix a runny nut butter! At the end of the process you should have something that looks kind of like this:


Hopefully your family's reaction will be similar to this:

Pecan delirium

This makes about 2 cups.  Enjoy!


Sunday, November 7, 2010

First recipe! (oh my)

I thought long and hard about what recipe I wanted to share with you guys first.  I consulted the experts and we discussed the possibilities in detail.

I decided to go with my classic red tomato sauce.  I know what you are thinking: "Why the hell would you make your own tomato sauce??"  Yes, you can buy a good tomato sauce in the grocery store.  But it won't be as good as this.  Also, when you make your own you can guarantee the quality and freshness of ingredients.  Who needs the preservatives and artificial chemicals included in canned tomato sauce? Take the time, your efforts will be rewarded.

This was a good opportunity for me to use my basil plant before the cold weather takes it out!


Hints:
1.) Start out with good ingredients.  Your food will only be as good as the ingredients you choose.
2.) Fresh herbs are a secret power house of flavor.  I have rosemary and basil growing in my front yard.  Considering I have two black thumbs, if I can grow them, you can too. Any leftover herbs that I have, I chop up and freeze. Thyme is especially good for this because the tiny leaves fall off when frozen and go to the bottom of the container. 
3.) Don't be afraid to taste and reseason throughout the process. Salt is your friend.
4.)  You can use fresh tomatoes when they are in season.  This recipe uses canned organic tomatoes.  Use whatever tastes better.

Basic Tomato Sauce
1/2 cup extra virgin olive oil
2 medium onions, chopped
1 and 1/2 teaspoons salt
3/4 teaspoon freshly cracked black pepper
2 celery stalks, chopped
2 medium carrots, chopped
4 cloves of garlic, finely diced
2 dried bay leaves
1/4 teaspoon red pepper flakes* optional
1 teaspoon finely chopped fresh rosemary
1 teaspoon fresh thyme
(2) 28 oz cans whole peeled tomatoes or tomato puree (recommended brand: Muir Glen)
1 tablespoon tomato paste
1/4 cup heavy cream* optional
1/2 cup fresh basil, chopped


I start out by preheating a large pan to medium heat.  Add 1/2 cup olive oil (sounds like a lot, but this makes a big batch of sauce.)  Chop up 2 medium onions, 2 celery stalks, and 2 medium carrots into a small dice. Throw them into the olive oil with the salt and black pepper and cook until softened, but not browned (7-8 minutes). Add 4 cloves of finely chopped garlic, 2 dried bay leaves, 1/4 teaspoon of red pepper flakes (more if you like your sauce spicy), one teaspoon of chopped fresh rosemary, and one teaspoon fresh thyme.  Cook for about one minute.  Add the tomato sauce and the tomato paste. Reduce to simmer and cook until it has this consistency (this took me about an hour).  Remove the bay leaves!


Now we blend!

Using an immersion blender or a regular blender, pulse down until the vegetables are slightly chunky. Maybe 15-20 seconds with an immersion blender or 5-6 pulses in a standard blender.


Add the basil now.  You don't want to add it at the beginning because it will wilt, lose it's green color and a lot of it's flavor.  Always add fresh herbs like this at the end.  At this point, the sauce is pretty much done.  UNLESS...
Red sauce on crack.

I tried to think of how I could improve on this recipe tonight and it dawned on me: "everything is better with heavy cream!"  I added 1/4 cup and it changed the profile completely. The sauce has a velvety mouth feel with the cream. Of course, it is optional, but come on.  So good!

Dan was licking the bowl clean.

This sauce is great because it is so versatile.  Any leftovers you have can be frozen and used for other dishes in the future.  I hope you enjoy this sauce as much as I have! 


Best,
Stephanie


Saturday, November 6, 2010

What's up with this bear hair?

Hello friends!

This blog is a very long overdue creative project for me.  It is something that I have always wanted to do, but just really never thought I could.  I have always "self-picked" at myself when it comes to my cooking.  You see, my husband is the creative one in the family. He can draw, sing, act, you name it.  All I can do is cook, bake, and make up recipes. But I do it pretty well.  And I love it.  I love how food makes people happy and brings them together. And I love being able to give people happiness by doing something that I enjoy so much.  That is where this blog is coming from and I hope to share that with you through my words and recipes.

Some of my biggest fans:

Appolonia and Chloe, my two "bears."  My husband and I have a running joke that whenever we cook at home, the first to find the bear hair is the winner.  It's like finding a needle in a haystack but still, always present (and somewhat comforting in a weird way.) They are my kitchen helpers, picking up any niblets that I may have dropped. 

And my next biggest fan:

My personal taste tester and cheerleader.  Also my Krispy Kreme partner in crime, my husband Dan.  

A little about me:  I am in school full time for family nurse practitioner and I am a teaching assistant for pathophysiology at Georgia State University. I work part time as an ICU nurse.  Whenever I get stressed from all this, I escape by cooking. 

Things you may not know about me:
1.) I am an avid Crossfitter.  I love it.  It has changed my life in so many ways.

2.) I workout pretty much every day. Hard.  I am pretty much thinking about food the whole time. :)

3.) I eat bacon (the really thick cut kind) and eggs for breakfast every day.

4.) My cooking philosophy is local, fresh, healthy, with a good balance of naughty.

5.) If I weren't so practical, I would drop everything and go to culinary school.

6.) Every morning I drink coffee with lots of heavy cream.

7.) I try to surround myself with people who I feel are honest and real.  I can't tolerate people being fake.

8.) I have been to 12 different countries, most when I was under 10 years old.  Seems like a waste since I wasn't old enough to appreciate it. 

9.) My happiest moments are 3 hour dinners with my husband, sharing a really good bottle of wine.

Thank you for reading and for taking this journey with me.  Recipes to follow!

Best,
Stephanie